 Sumedh Wairagade
Facial Expression Detection
I have build a model to detect Facial Expressions from an image dataset given on Kaggle, facial-emotion-expressions dataset. I build a model to detect emotions expressed in an image from the kaggle Dataset. Facial emotion recognition has been a popular area of research in computer vision field. The ability to detect and classify emotions from facial expressions can have a wide range of applications, including affective computing, human-computer interaction, and psychological studies. In this post, we will build a facial emotion recognition model using Keras, a popular deep learning library.
First Step:
We load a dataset from kaggle to train our model. Our Dataset has images for seven different emotions: angry, disgust, fear, happy, sad, surprise, and neutral. We just saved the Dataset in our google drive, to access it on the Google Colab but there is one another way of doing it by creating an API for accessing the Kaggle Dataset online, you can see it here.
Second Step:
Now, we will use the Python libraries to load and preprocess the data. We will use Seaborn, a data visualization library, to plot the images from the dataset. We will also use glob, pathlib, and cv2 libraries to load the image data and perform data augmentation.
We understand our Data and convert it into a Dataframe using the Function that is designed and provided here, using the pandas library we can develop a dataframe from a raw image Dataset labels of the image being known.
Data augmentation is a technique used to artificially increase the size of the dataset by generating new images from the existing ones. This is done by applying various transformations to the original images, such as rotating, flipping, or zooming. Data augmentation is a crucial step in training deep learning models, as it helps to prevent overfitting and improves the generalization ability of the model.
After loading and preprocessing the data, we will split the dataset into training and testing sets. We will use a sequential model in Keras to build our facial emotion recognition model. The sequential model is a linear stack of layers, and we will add several layers to our model, including dense, conv2d, max pooling, dropout, and flatten layers. You can see a sample of our data below:
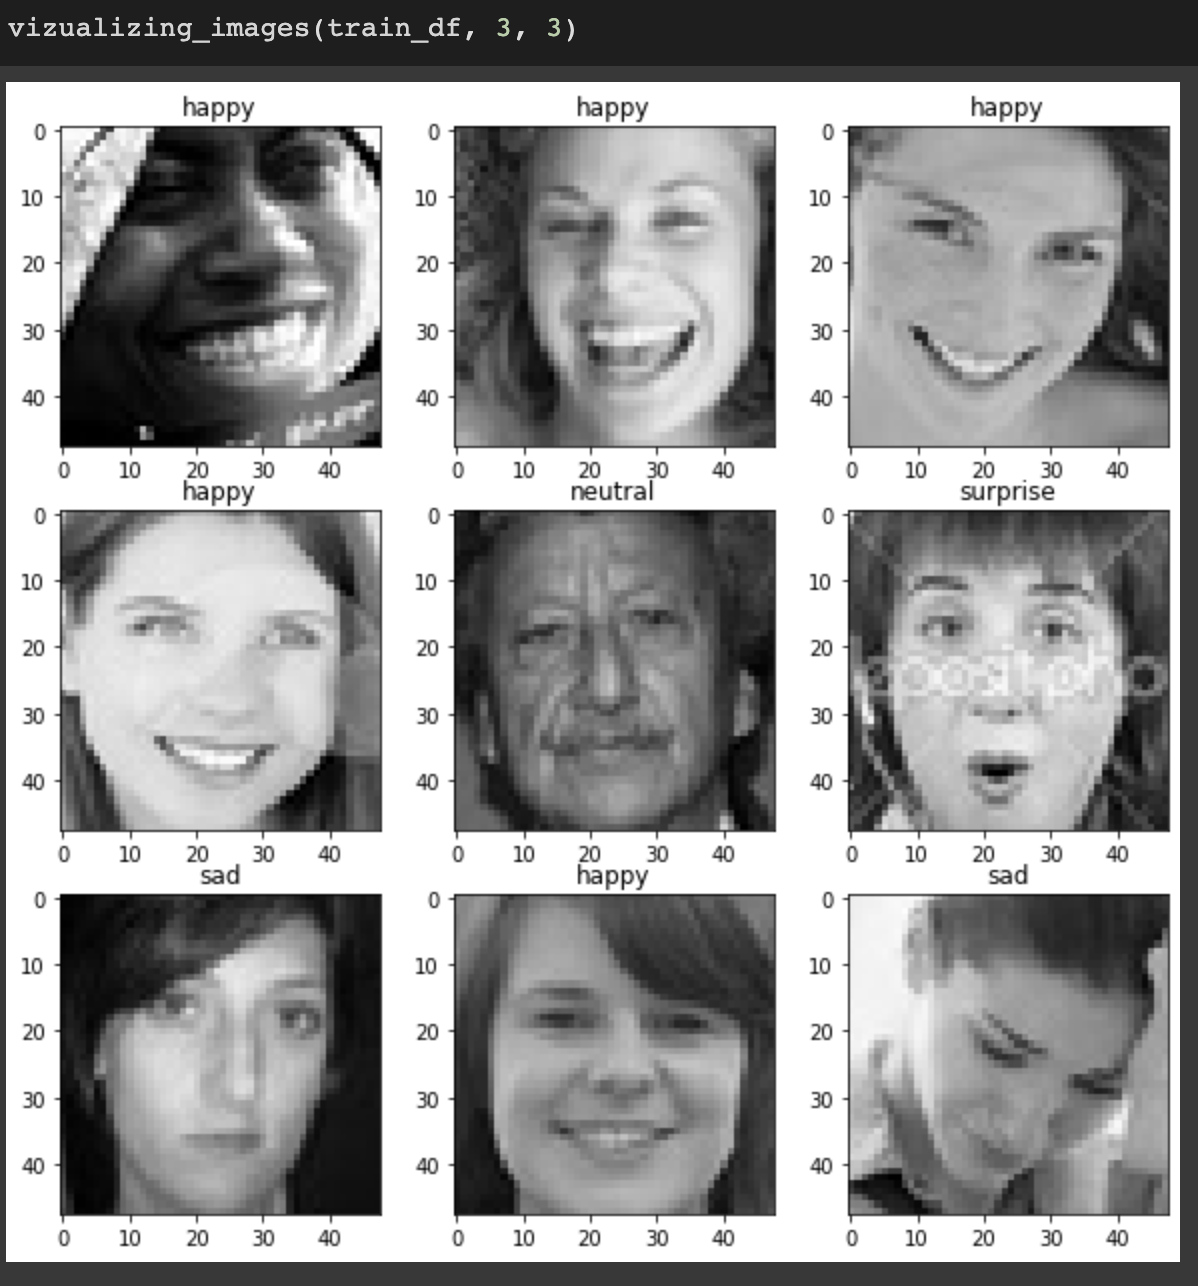
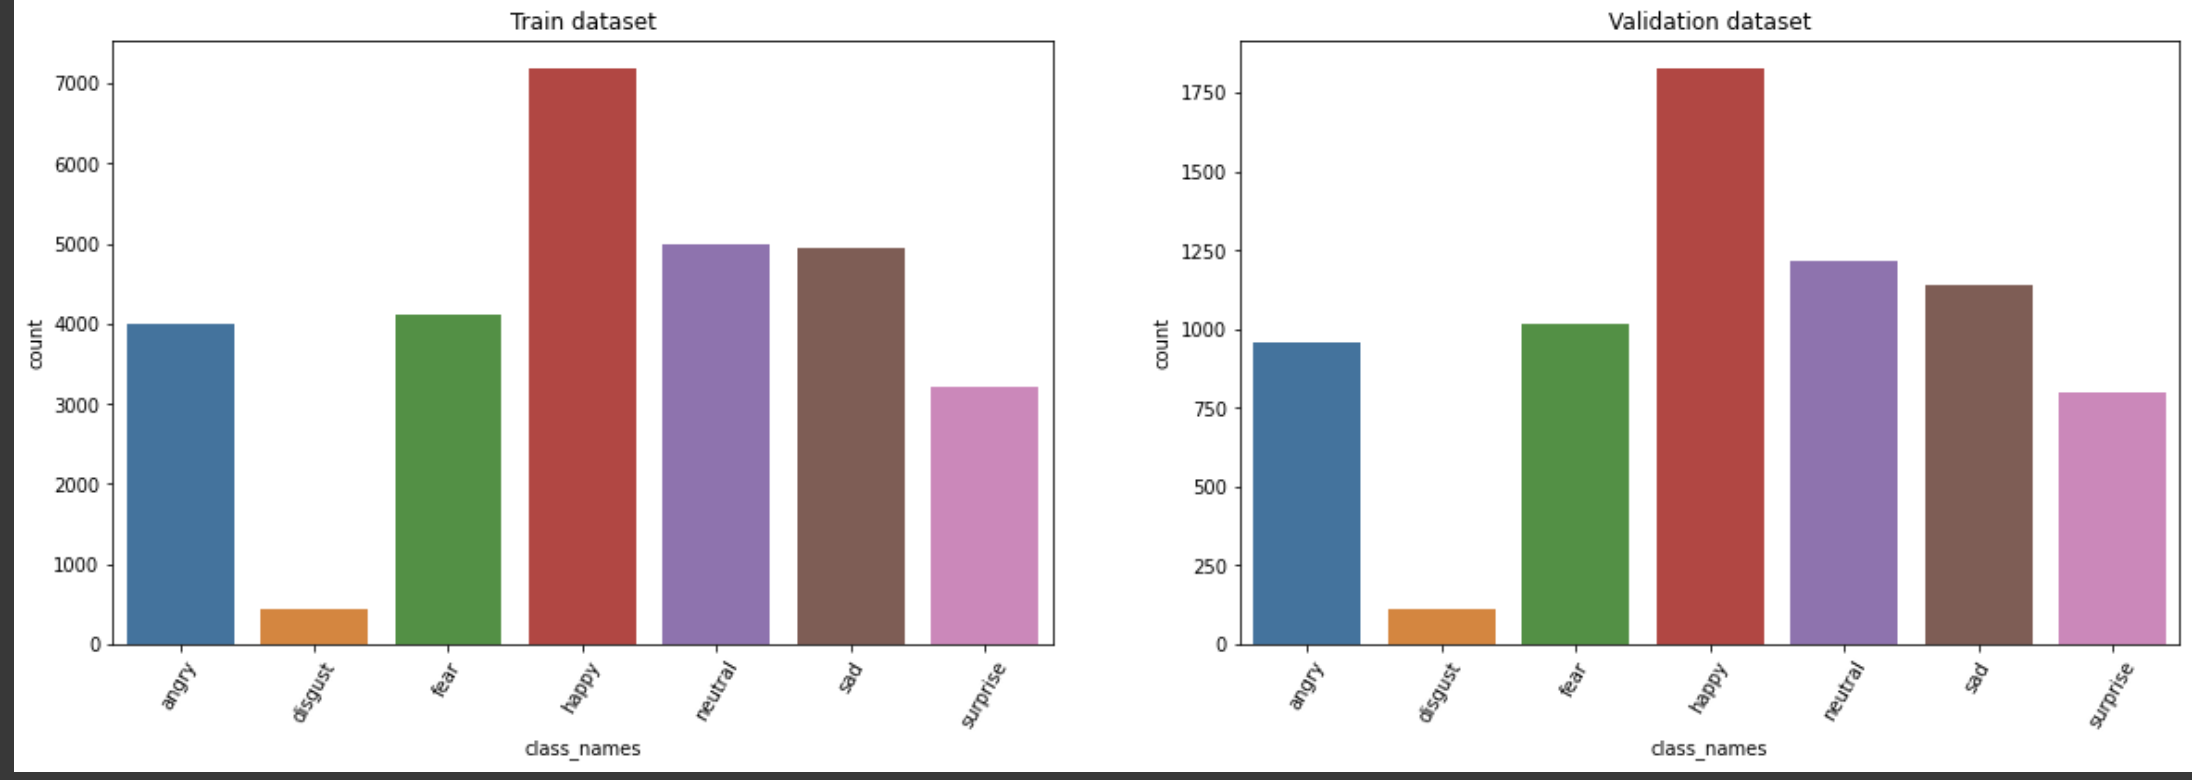
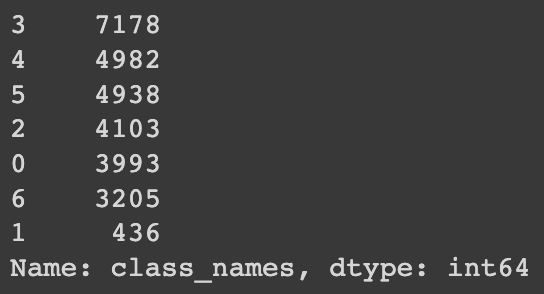
We can also visualize the statistics of our dataset where we can see how the data for different class is distributed. We have generated a plot to represent the freqency of a classes in our dataset. The image produced is displayed below:
Next Step:
We start building the model First we initialize our model with a sequential function in Keras. Then we add InputLayer with the shape of the input, then three combinations of Conv2d Layer and Maxpooling2d Layer,then Flatten layer then couple of Dense Layer and then a Dropout layer just before the output Dense Layer with the output dimension having the number of classes we are gonna have.
Now we Compile the model along with providing the loss function and the optimizer to our model. We used Adam optimizer and the relu activation function for our model. The Adam optimizer is an extension to stochastic gradient descent, which is a popular optimization algorithm used in deep learning. The relu activation function is a commonly used activation function in deep neural networks, which introduces non-linearity into the network and helps to improve the performance of the model. We will also add an early stopping callback to our model to stop training if the validation loss does not improve for a certain number of epochs. This is a useful technique to prevent overfitting and improve the generalization ability of the model.
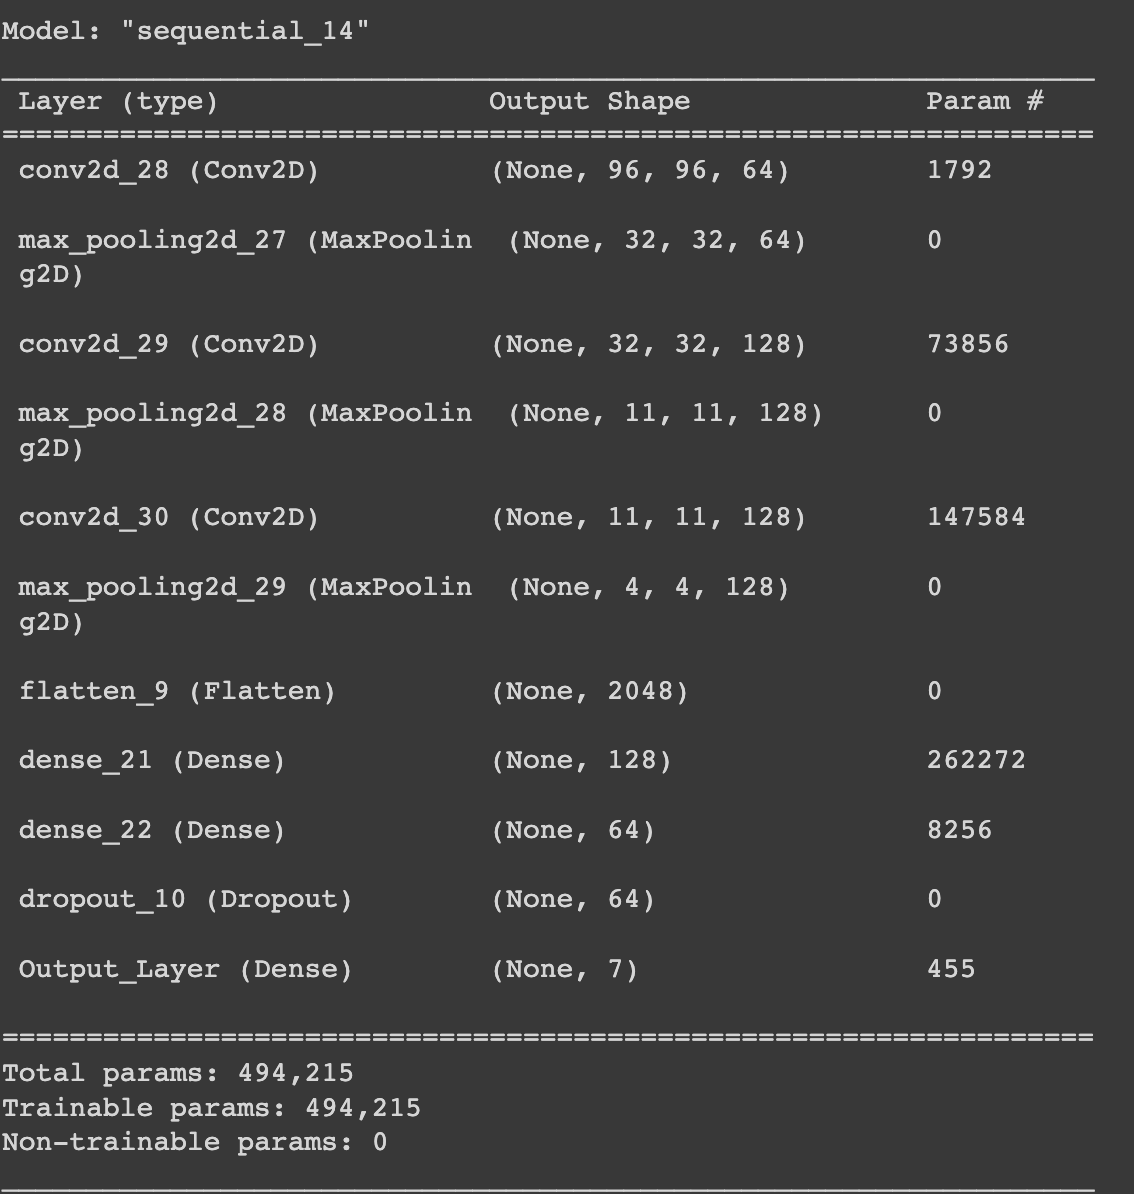
While Training the model we can see the precision and accuracy of the model in each epoch. We need to adjust the values of layer sizes accordingly to make our model perform better. If we use the optimum settings for every layer we would not have to use so much layers for prediction of this 96*96 sized image. I think i have overloaded my model with weights but you can try using less layers or less weights in each layer.
We also evaluate our model on the Validation set and enter data in confusion matrix to visualize the performance of the model. We also labeled the dataset into a data frame to make it easier to analyze and understand the dataset.
Motivation:
This was an assignment to understand and implement the keras library. The best part of building the model is to understand the data we are working on and then build a model for the data to get better results than developing just a generic model for all purposes. The images datasets are sometimes harder to work with and fun to understand. I have generated just some random images to understand the data, like the the ones given below:
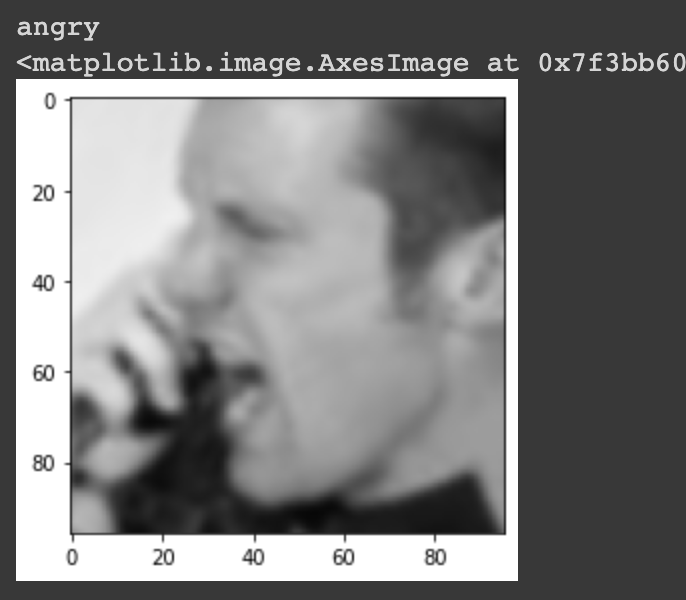
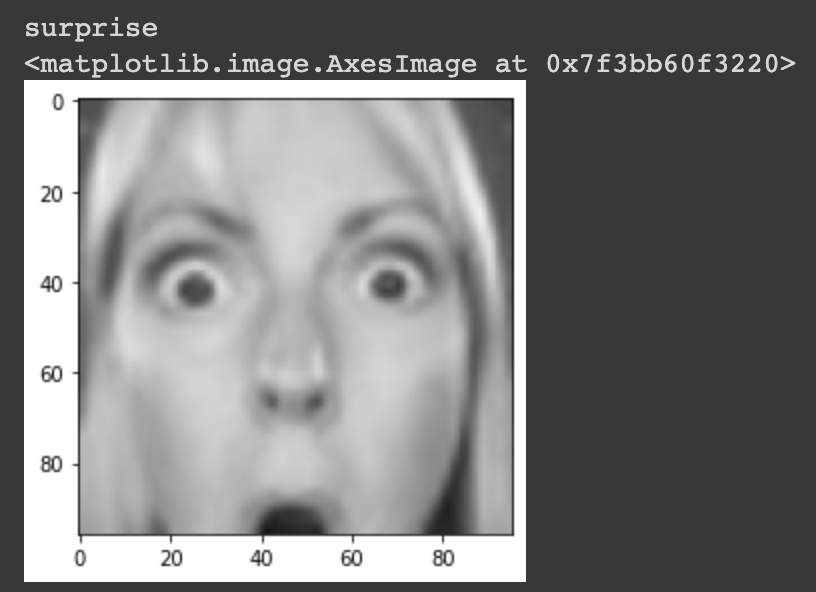
These two images are from the samples of Training and Validation Dataset.
Conclusion and Future Scope:
I experienced how to preprocess the data to build an Deep neural networks model in this assignment and got to know how I can tune my model to perform better. Also i made an image using Seaborn, cv2, and Matplotlib libraries in Google Colab notebook.
Try competitions on Kaggle it is fun and good for practicing your skills and keeping uptodate with current technology.